Lexmark T654, T652, T650 Light Print – Transfer Roller Replacement
Diagnostic Aids for the Lexmark T654, T652, T650 Light Print – Transfer Roller Replacement
In this article I’ve combined the Lexmark T654, T652, T650 Light Print and Transfer Roller Replacement instructions into one article. Most the calls I get on Lexmark printers are related to print quality issues. One of those print quality reasons is light print. One of the main things that can cause light print is the transfer roller. Therefore, it only makes sense to save a little time and combine them in a single article.
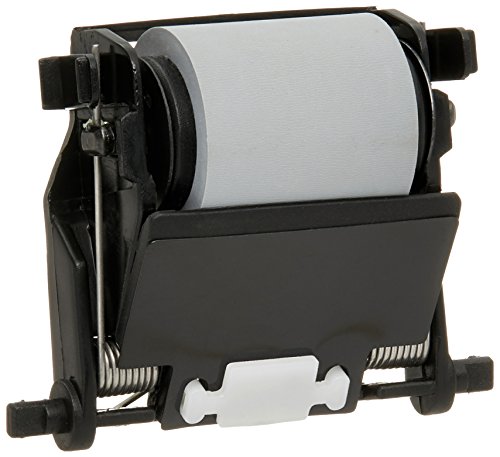
Lexmark T650 Transfer Roller Assembly – OEM – OEM# 40X1886 – Also for T652 and others

Recently I’ve seen a rise in light print quality issues with Lexmark and HP machine. I use to let transfer rollers go to 500,000 or more prints before I replaced them. However, they barely seem to making it to the PM cycle. I think a lot of this has to do with the print speeds and the way these machine are printing. As paper feeds through the machine you will notice at certain points it starts eating away at the surface of the plastic parts. I think I’m seeing more of that with the transfer roller. I think the paper is eating away at the transfer roller leading to a poor transfer of the image. Also, it seems the printers are just printing lighter to begin with. I’m not exactly sure for there reasons but if you compare the newer machines to older models you will notice the older ones just print darker. Finally, third party and compatible transfer rollers are just making the light print more obvious. Therefore, I strongly recommend making sure that you get OEM transfer rollers when you order in a maintenance kit.
Service Manual Advice and other Tips for the Lexmark T654, T652, T650 Light Print Issue
1. Check the media condition. Load new, dry, recommended media, and perform a print test. The main thing here is to check and make sure the media type settings on the printer match what your trying to print. For example, if your printing on cardstock and you have the media type to plain then the transfer voltage might not be strong enough to pull the image completely on the cardstock and light print will happen.
2. Check the toner level. Is the toner level normal? Replace the print cartridge. For testing purposes it is recommended that you use an OEM toner.
3. Check the transfer roll assembly for contamination and wear. Is the above component free of excess wear and contamination? Replace the transfer roll assembly. This is the reason why I wrote this article. I’ve been experiencing more light print issues with the transfer roller in these machines. Especially, with third party or compatible versions. If you feel the need to replace the transfer roller then make sure that you are replacing it with an OEM transfer roller
4. Check the print cartridge for proper installation. Is the print cartridge properly installed? Inspect, clean and reinstall replace the print cartridge. Again, for testing purposes, if you replace the cartridge do it with an OEM so you can rule out that as a possible cause.
5. Check the laser beam route. Check for debris between the printhead assembly and the PC drum. Is the laser beam route free of debris and the glass window, in the printhead assembly, free of contamination? Remove debris or clean the printhead assembly window.
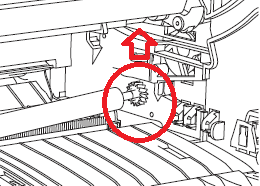
6. Before you get crazy and start replacing more expensive parts like the HVPS and Printhead I would check the charge roller. I’ve seen a few of these cause some light print quality issues. The service manual doesn’t talk about but it’s something worth taking a look at.
7. Check the HVPS card assembly for proper connection. Is the above component properly connected? Replace the HVPS card assembly
8. Check the printhead assembly for proper connection. Is the above component properly connected? Replace the printhead assembly.
Lexmark T654, T652, T650 Transfer Roller Replacement
1. Open the operator panel door assembly.
2. Remove the print cartridge.
3. Gently unsnap the transfer roll assembly from the machine.
4. Remove the transfer roll assembly.
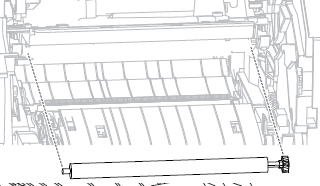
Replacement Warning: When replacing the transfer roll assembly, do not touch the foam surface. On some parts I would say not touching is a little overrated but in this case I would say it is very important not to touch this part.
–