Paper Jam 1, No Cartridge Error -Dell 1600N Multifunction Printer
Paper Jam 1, No Cartridge Error – Dell 1600N Multifunction Printer
I had a customer call in for service the other day on a Dell 1600N with an error message of paper jam 1, no cartridge. Fortunately, the internet is flooded with others having the same error and several people informing end users that they need to take the printer apart and reseat the fuser sensor flag in back of the machine. I say fortunate for me because it scared my customer away from attempting to fix the machine themselves by trying a few basic things. In this article I will discuss the paper jam 1, no cartridge error on the Dell 1600N and how you can check a few things first before attempting to take it apart and reseat the sensor flag in back of the machine if that is the case.
Troubleshooting the paper jam 1, no cartridge error in the Dell 1600N Printer
Alright the first thing to do in troubleshooting the paper jam 1, no cartridge error in the Dell 1600N is verify that there is no paper in the machine where it shouldn’t be. Turn off the machine and unplug all the cables going into the back including phone, usb, or network cables. Next, remove the paper tray, open the front door, remove the toner cartridge, open the back door and make sure there is no paper located anywhere in the machine. Now to check the sensor flags. One is located in the middle of the feed path under wear the cartridge sets and before the black sponge like transfer roller. The other one to check is in the back of the machine in the fusing unit. Open the back door and right in the middle of the fuser you should see a grey or black sensor flag sticking up in the middle. Finally check the paper tray itself. Make sure the blue paper stop is pushed all the way back. The paper should easily load into the tray and should not be snug. There should be just a little room for it to move forward and back. If the paper is to tight in the tray it can result in the paper pick up roller not being able to pull the paper out of the tray resulting in this error. If everything looks OK and nothing is blocking the sensor flags from moving then we can proceed to testing the machine for the paper jam 1, no cartridge error .
Testing the Machine
OK, plug only the power cable in and turn the machine on. Close the back door, install the paper tray, and toner cartridge. Now the machine should go to a ready state. For it going straight to the error message then go to disassembly instructions to check the fuser sensor flag more closely. For machines that go to a ready state, put a test page on the glass and make a copy. If it prints out your copy then great make a few more copies to verify everything is working then plug everything back in and verify your printer and fax functions are working. Now if it doesn’t work and gives you the paper jam 1, no cartridge error then verify where the paper is getting jammed if at all. For the error being displayed and the paper not even making it out of the tray then we need to check the feed roller and clean it. See instructions below for removing it. Once you cleaned it off and reinstalled it check again and hopefully that fixed your issue. If the paper jams inside the machine and you still can’t figure it out then go to the disassembly instructions for the fuser or you might need to call in for a service call at this time.
Checking the Fuser Sensor Flag for the Paper Jam 1, No Cartridge Error on the Dell 1600N Printer
Back Cover Removal
1. Before removing the back cover, disconnect the A/C power cord from the back of the printer.
2. Remove the four screws securing the back cover to the chassis. Two on bottom corners in recesses and two above the back door.
3. Pull the back cover from the chassis.
The Sensor is located in the middle of the fuser and underneath it is a sensor PCB. You should be able to move the flag and it is spring-loaded so it should spring back. If it’s knocked out-of-place or doesn’t move freely then it will need to be reseated. If you feel the need to remove the fuser then there is two cables. One that plugs into the power supply on the left side and one white thermistor cable that plugs into a connector on the right side. Four screws on the corner need removed then it should pull out.
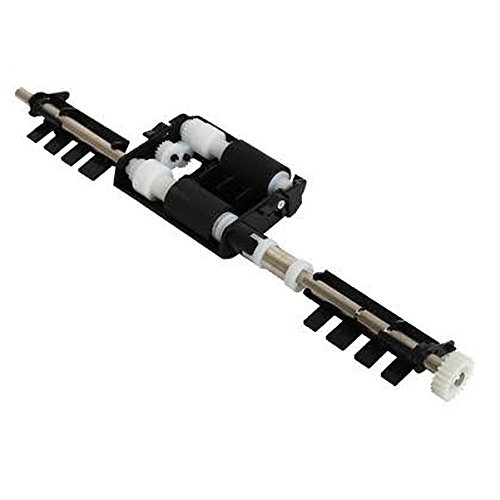
Pick Up Roller Removal
1. Before removing the pickup roller:
•Disconnect the A/C power cord from the back of the printer.
•Remove the paper tray.
2. Pull the retaining tab, and then slide the left stopper securing the pickup roller to the left.
3. Turn the pickup roller on the roller shaft till the square key allows you to remove it.
4. Remove the pickup roller from the chassis.
5. Reverse the previous steps to replace the pickup roller.
Conclusion about the Paper Jam 1, No Cartridge Error on the Dell 1600N Printer
Hopefully, this article has helped you diagnose and repair your Dell 1600N printer. In the one I recently serviced the error was a resulting of the paper tray stop being pushed to far forward and the paper pick up roller getting dirty over time. A simple cleaning of the pick up roller and adjusting the paper stop fixed the problem.
Additional Printer Repair Articles can be found at : http://www.metrofuser.com/