Lanier LD625C Yellow Drum Replacement
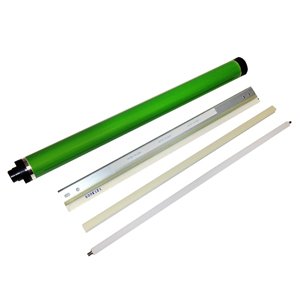
Lanier LD625C Yellow Drum Replacement – On this page are the information for the drum and developer repair. Typically once you start experiencing color lines or color back grounding it can be a signal that the charge grid and cleaning blade are beginning to go bad. Some businesses advertise PM kits to rebuild the drum units however, with the price tag on these appearing considerably low-cost, I would personally aim in the direction of simply exchanging the entire unit given that it will take small technical ability compared to rebuilding it which often can get complicated and messy.


Lanier LD625C Yellow D039-2040 Drum Assembly / PCU (Genuine) – $136.95
D039-2040, D039-2030, D0392030, D039-2020, D0392020
Lanier LD625C Yellow Drum Replacement and Developer Unit
The new drum unit has a front cover and a front joint. When you attach the new drum unit to the development unit, remove a front cover and a front joint at first.
And use them for reassembling the new drum unit and development unit.
If you install a new drum unit, set SP 3902-xxx to “1”.
Black: 3902-009
Yellow: 3902-010
Cyan: 3902-011
Magenta: 3902-012
If you do this, then the machine will reset the PM counter for the drum unit automatically, after you turn the power on again.
Turn the machine power off.
1-2. PCU ( “PCU”)
3. Front cover [A] ( x 2)
4. Do not touch the bearing [B] after removing the front cover. The bearing is properly applied with lubricant.
Note: Remove the toner duct [G] first to avoid breaking it during this procedure.
5. Remove the bushing [C] of the development roller at the rear of the PCU ( x 1).
6. Remove the front joint [D] ( x 1, x 1).
The front joint [D] is firmly set. Remove it with a watchmaker’s or jeweller’s screwdriver.
Drum unit [E] and Development Unit [F] [G]
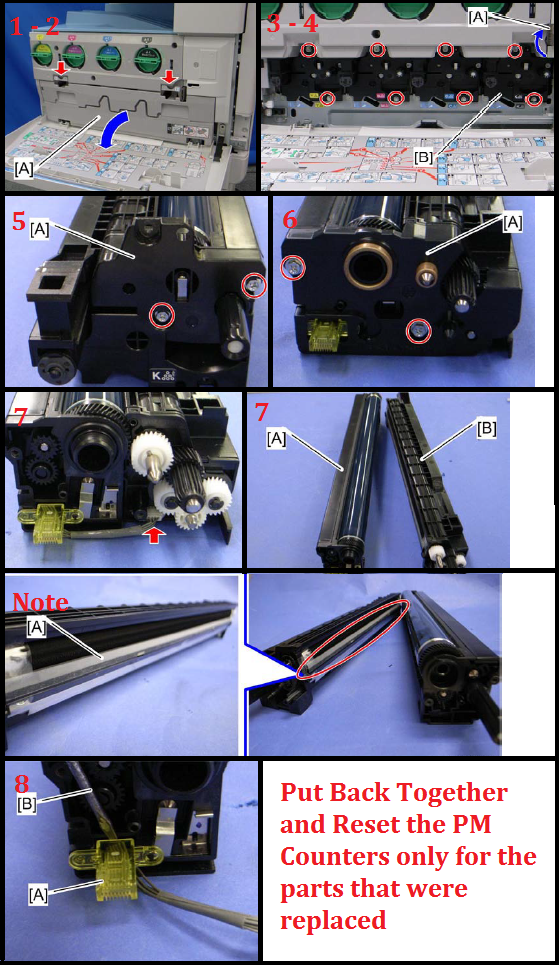
When the development unit is removed from the drum unit, clean the entrance mylar [G] with a vacuum.
If you change the development unit, do the ACC procedure.
A. Turn the machine power off.
B. Development unit ( “Drum Unit and Development Unit”)
7. Hopper cover [A] (hook x 3)
8. Shake a bag of developer and pour it into the development hopper [B].
9. Reattach the hopper cover (hook x 3)
10. Turn the machine power on. The machine initializes the developer and resets the PM counter for the developer. (For details of the developer initialization result, see “Developer Initialization Result” in the “Troubleshooting” chapter.
8. Do the ACC procedure.
RC Aficio MP C2030 Drum Rebuild Instructions
Instructions for rebuilding of drum unit for Ricoh Aficio MP C2030 / C2050 / C2051 / C2530 / C2550 / C2551 applications.