Ricoh, Lanier, Savin SP C250 , SP C252 Fuser Replacement
Ricoh, Lanier, Savin SP C250 , SP C252 Fuser Replacement
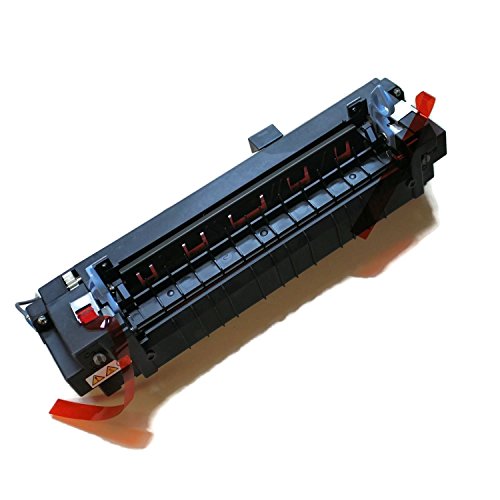
Below you will find the Ricoh, Lanier, Savin SP C250 , SP C252 Fuser Replacement instructions. The fusers are rated at 90,000 pages so this is one of your common maintenance items. After you have installed the fuser it is recommended that you reset the fuser counter so if anybody else services the machine, the counter reflects the usage of the part in the machine.

1. Open the top cover.
2. Open the front cover.

3. Left cover Removal
Remove the top front screw and two lower screws
Remove the rear cover and the operation panel in advance when you meet difficulties in removing the left cover.

3. Disconnect the connectors A & B

4. Ricoh, Lanier, Savin SP C250 , SP C252 Fuser Replacement
5. Remove the three screws holding the fuser in place and remove. You might want to make a note of the wires as you remove the fuser for proper installation.

It is likely to remove a fusing unit cover screw instead of the lower left fixing screw by mistake. Make sure which screw should be removed before you do this step.
6. Execute “Reset Fuser Unit” with the “Engine Maintenance” menu
This model has several service menus. Each service menu has several adjustment items.
This section explains how to enter each service menu and what you can do in each service menu.
“Menu Mode” can be executed by depressing the following key sequence while in ready condition:
MF Mode
1. Clear/Stop, 1, 0, 7 and Clear/Start. (Press and hold each key till a beep is heard.)
2. Scroll down to Engine Maintenance and Enter
3. Scroll down to Reset Fuser and Enter
4. Turn off and turn on the printer again.
Printer Only Mode
1. Turn off the printer power switch.
2. Press and hold the buttons Stop / Start and Escape
3. Turn on the printer power switch and wait until the display message Service Mode.
4. Scroll down to Engine Maintenace and Enter
5. Scroll down to Reset Fuser and Enter
6. Turn off and turn on the printer again.
If the error comes back then you can further troubleshoot the error or replace the fusing unit. In most cases, if the error is reoccuring then replacement is probably going to be needed.
Note : Anytime you get one of these errors, the only way to clear it is to reset the message. If you order in a new fuser and haven’t reset the message, you will still get the error until it is reset.