Diagnostic Information for the Lexmark T522, T520 Error Code 921 Fuser Below Temperature
This is probably the most common fuser error I run across on Lexmark machines. At least that’s my own personal experience. Below you will find some diagnostic information to help sort through this error. Also, you will find links to purchase a replacement fuser and at the bottom of this page find a link to the illustrated instructions on removing the fusing unit.
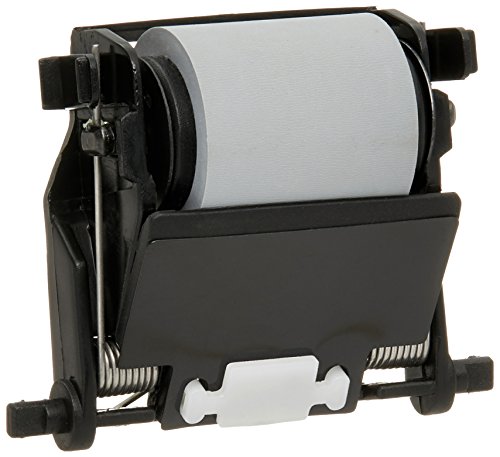
![]()
Lexmark 99A2423 110-127V Fuser (LEX99A2423) Category: Fusers

Lexmark T522, T520 Error Code 921 Description
Fuser Error Indicates that the fuser is below standby temperature when the printer is idle.
Diagnostic Information and Service Manual Voltage Checks for the Lexmark T522, T520 Error Code 921
1. The first thing that I always try with this error is to turn the power off then back on. Lots of times this can fix your problem. Thunderstorms, electrical work nearby, or windy days can cause sudden short power interruptions. This can lead to this fuser error or other similar ones. Accidents do happen. If the machine starts working again then keep an eye on it. If you are out on a service call then I would take the fuser out check the lamp contact points and clean the surface of the thermistors.
If the error continues then follow the steps below.
2. Remove the redrive assembly, turn the machine back on, tell it to print a test page, watch to see if the lamp turns on in the fusing assembly.
3. If you get the error and the lamp doesn’t turn on then check continuity across the lamp, lamp contact points, wiring, and thermal fuse.
4. If the lamp turns on then check the thermistor and clean if needed.
Below are the voltage checks. If you don’t want to attempt the diagnostics past this point then your next step is to replace the fusing unit. Very rarely do these types of errors make it past the fusing assembly.
5. LVPS to Fuser AC Cable
Caution: When taking measurements for AC power, observe all safety precautions.
a. Measure the AC line voltage between the two connectors on the fuser end of the LVPS to fuser AC cable. If the voltage is incorrect, turn the power off, and remove the LVPS.
b. Measure the AC line voltage between pins CN1-1 and CN1-3 on the board.
c. If correct, check the continuity of the LVPS to fuser AC cable. If incorrect, replace the cable.
d. If the AC line voltage at CN1 is incorrect, check fuse F2. If the fuse is blown, replace the fuse.
e. If the fuse is not blown, replace the LVPS assembly.
6. Disconnect the thermistor cable from the fuser board at J2. Resistance:
• HOT J2-1 – J2-2 = 2.5K ohms
• COLD 150K ohms to 260K ohms
7. Replace the fusing assembly.
Click on the link below for the fuser replacement instructions