Troubleshooting Tips for the Lexmark T644, T642, T640 Error Code 920.06
Laser printers are very precise machines. When the paper feeds through the machine everything is timed to know if the paper gets somewhere early or late. If the laser scanner motor is not moving at a stable speed then the machine knows it. When the fuser heats up the lamps should only be needed for a precise time. Now the machine does allow for a little extra time but at a point the machine has to call it quits and let you know the fusing assembly or other parts require service. The Lexmark T644, T642, T640 Error Code 920.06 is letting you know that the temperature in the fusing unit did not increase even though the lamp stayed on longer than normally required.
 –
–
–
–

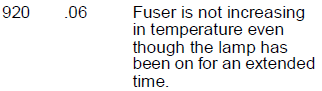
Lexmark T644, T642, T640 Error Code 920.06
Fuser is not increasing in temperature even though the lamp has been on for an extended time.
Fuser page count between 0 and 99,999.
Service Manual Troubleshooting Tips for the Lexmark T644, T642, T640 Error Code 920.02
• Fuser is not receiving AC power.
• Poor supply line voltage.
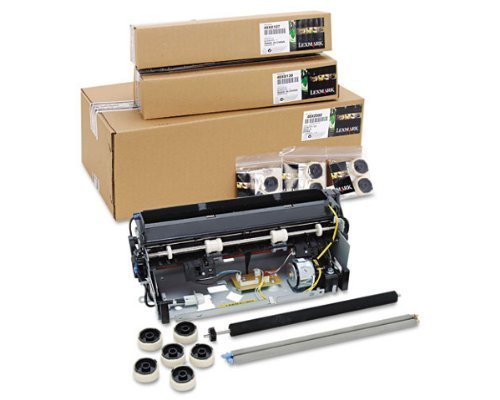
Below you will see to options for the purchase of a replacement fuser. A reconditioned unit and an OEM version.
Additional Troubleshooting Tips for the Error Code 920.06
1. First, I would remove the redrive assembly and turn the machine on and try to print something to see if the lamp is during on.
2. If the lamps turns on then I would check the thermistor. Clean as needed.
3. If the lamp doesn’t turn on then I would check the thermal fuse for continuity. Check the lamp for continuity. Check the fuser circuitry for continuity.
4. Check the LVPS to make sure all the fuses are still intact.
5. Replace the fuser. Obviously, if you find the problem is steps 1, 2, or 3 then you probably don’t need to go to step 4. Actually, very rarely will you have to go to step 4. 99% of the time when you need to fix any fuser error, replacing the fusing assembly is the final step needed.
Click on the link below for the fuser replacement instructions.
Lexmark Optra T640, T642, T644 Fuser Removal Instructions