Instructions for the Lexmark T654, T652, T650 Fuser Assembly Replacement
The 920 – 922 – 924 – 925 – 927 Error codes are all fuser related codes. These codes are further broken down with .XX numbers that help further isolate the problem. I will be discussing the more specific error codes in other articles. The main point of this article is just to provide instructions on the Lexmark T654, T652, T650 Fuser Assembly Replacement.
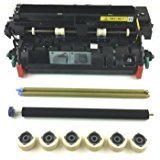
40X4418-FRN -N Lexmark Fuser T650 T652 T654 X65X Factory Rebuilt With All Oem Parts T650 X652

The fusing unit is rated at 300,000 prints. If you purchase a new OEM fusing unit then you have a good chance of hitting this PM cycle. However, if you decide to save some money and go with a reconditioned or rebuilt unit then, in my opinion, they tend to get half the usage. The main thing I say with the rebuilt units is to check the warranty and the ones that are rebuilt with OEM parts tend to last longer than other cheaper rebuilds.
Below I have provided the replacement instructions along with links to purchase a new fuser if needed. At the bottom of the article I’ve provided a link to the PM counter reset if you think you want to do this when you replace the fusing assembly.
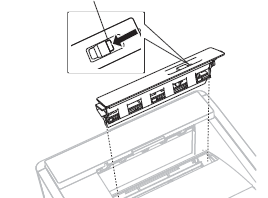
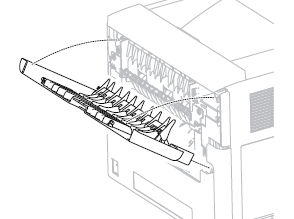
Lexmark T654, T652, T650 Fuser wiper cover assembly removal
1. Press the button (A) securing the fuser wiper cover assembly to the machine.
2. Remove the fuser wiper cover assembly.
Lexmark T654, T652, T650 Door assembly, rear removal
1. Pull the door assembly, rear away from the machine.
2. Twist the door strap left or right until vertical, and pull the strap out of the slot.
3. Position the door assembly, rear at a 45 ° angle as shown in the picture.
4. Remove the door assembly, rear.
Note : The Rear lower cover and Duplex guide assembly only need to be removed on the T654 and T652 models
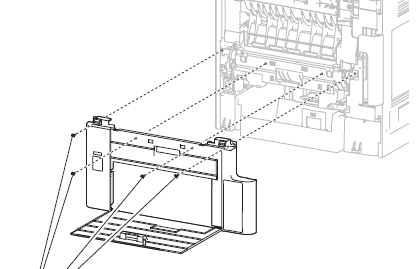
Lexmark T654, T652 Rear Lower Cover Assembly
1. Open the rear lower door.
2. Remove the four screws securing the cover assembly, rear lower to the machine.
3. Remove the cover assembly, rear lower.
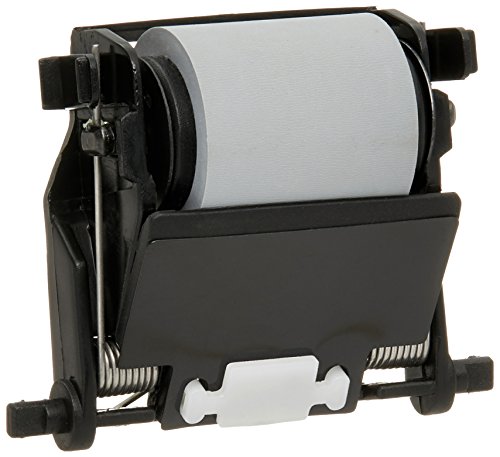
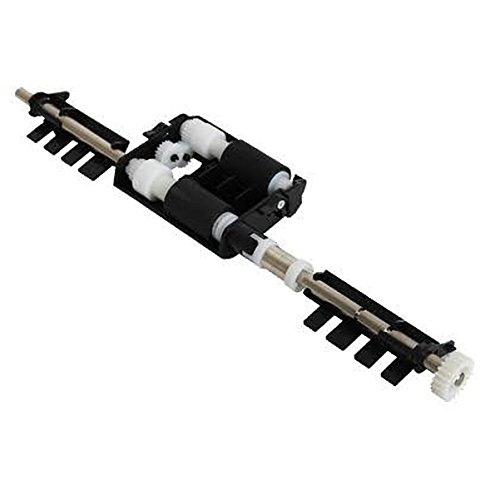
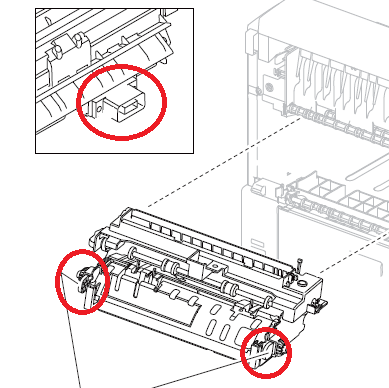
Lexmark T654, T652 Duplex guide assembly, rear removal
1. Remove the media tray.
2. Gently place the printer on its left or right side.
3. Remove the two screws securing the two retainers to the machine.
4. Remove the two retainers.
Lexmark T654, T652, T650 Fuser Assembly Replacement
1. Open the fuser access door.
2. Press the two buttons on the fuser unit assembly to release it from the machine.
3. While pressing the two buttons, pull the fuser unit assembly from the machine.
Replacement Warning: When replacing the fuser unit assembly, ensure that the electrical connection and the two buttons are properly secured.
–