Instructions for the Lexmark MX710, MX711, MX810, MX811 Fuser Replacement
These are newer machines so I’m not going to claim I have a lot of experience with them. The fusing assemblies are rated at around 200,000 prints and copies, which is lower than previous models of Lexmarks this size. Also, they don’t have an opening on top for the cleaning wand that was often found on most the larger black and white Lexmark machines.
Around 200,000 prints or copies you will get an 80 scheduled maintenance message. Unlike previous models you will get a warning that eventually will lead to a life end message. When the life end message comes up the machine will stop working until the fusing assembly assembly is replaced. Below you will find the Lexmark MX710, MX711, MX810, MX811 Fuser Replacement instructions.
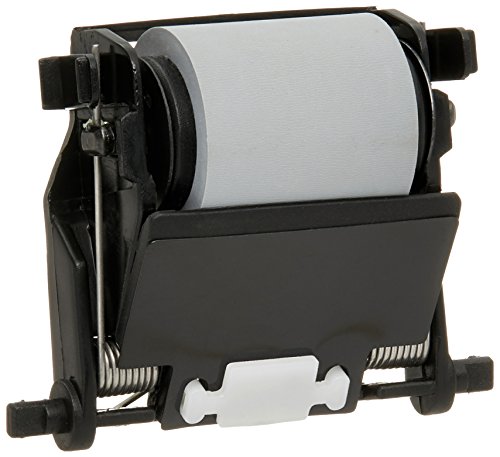
40X7743 -N Lexmark Fuser 110V RP MX810 MX710 MX811 MS811 MX711 MS812 MX812 MX710DHE

Lexmark MX710, MX711, MX810, MX811 Fuser Replacement Procedure
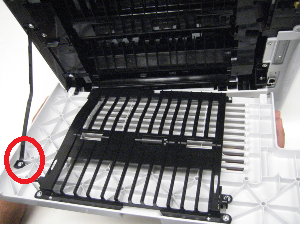
Rear door removal
1. Open the rear door.
2. Remove the screw (RED) securing the rear door support strap to the machine.
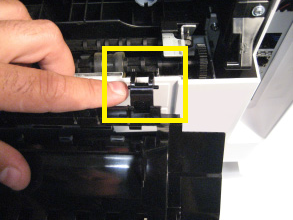
Fuser access door removal
1. Gently flex the fuser access door hinges.
2. Pull the fuser access door away from the machine to remove it.
Fuser removal
CAUTION—HOT SURFACE: The inside of the printer might be hot. To reduce the risk of injury from a hot
component, allow the surface to cool before touching.
1. Open and lower the fuser access door.
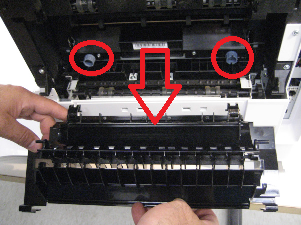
2. Loosen the two fuser thumbscrews (A).
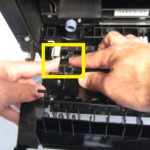
3. Gently pull the fuser, and remove it from the machine.
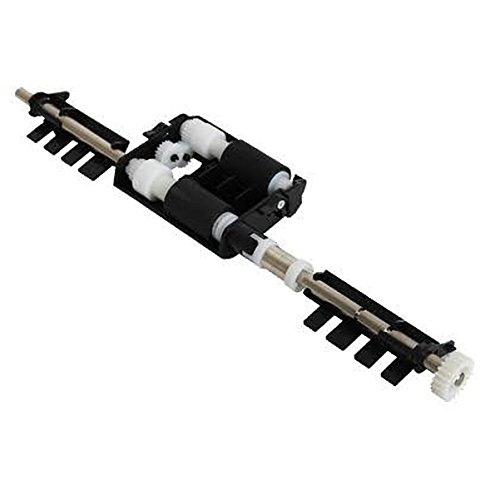
Below I’ve listed the fusing assembly by itself and I have the maintenance kit listed too. If you print off the config page and you have over 100,000 or more pages on the machine and haven’t done any real maintenance to the machine then it might not hurt to spend a few more bucks and just do the PM kit.