Brother MFC – 7360, 7460, 7860 Fuser Replacement
Instructions for the Brother MFC – 7360, 7460, 7860 Fuser Replacement
These machines don’t really have periodic maintenance parts like the HL-5000 and DCP, MFC-8000 machines. It is a smaller model and the HL versions and cheapest DCP and MFC models probably won’t see too many service technicians due to the selling cost. However, with the upper level models people might consider replacing PM parts. These machine tend to hold up pretty good and I don’t typically get a whole lot of calls on them. Below you will find additional information on the fusing unit along with the Brother MFC – 7360, 7460, 7860 Fuser Replacement procedure.
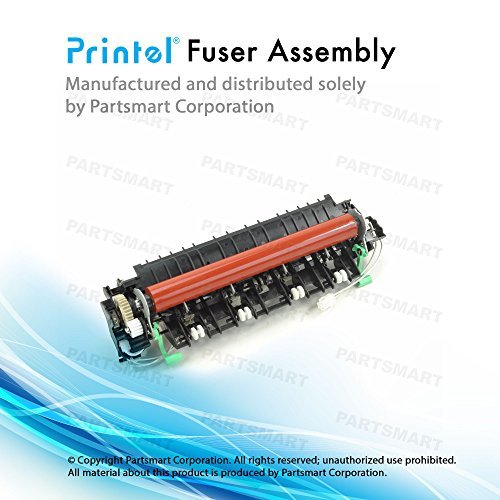
Brother LY2487001 Fuser Unit DCP-7060D, HL-2220, HL-2240D, HL2270DN, Fax 2840, MFC-7240, 7360, 7460DN
The fusing units don’t have a life span but if I was asked to give them one then I would say they tend to last 60,000 prints. You might get 80,000 on a good day but most tend to have fuser problems around the 60,000 mark. In most cases the pick fingers dig into the hot roller surface and scratch it. When this happens you usually start seeing a grey line running down the page just off center or in extreme cases it will indent the page if the surface of the hot roller gets really torn. The fuser is easy to see by opening the back door of the unit and pulling the fuser cover down. The pressure roller is orange and the hot roller is silver. Look for scratches on the surface, discolorization, and / or warping or ripples on the surface of the pressure roller.


–
Brother MFC – 7360, 7460, 7860 Fuser Replacement
1. Open the back cover, push the ribs of the back cover in the direction of arrow 2 and release the boss of the outer chute assembly.
2. Release the boss of the main body while pulling the back cover to the direction of the arrow 3a and remove the back cover.

3. Pull the outer chute assembly to the direction of 1a, release the boss of the outer chute assembly from the main frame and remove the outer chute assembly.

4. Hold the knobs on the fuser cover and pull down. Release the boss of the main body while pulling the fuser cover to the direction of the arrow 2 and remove the fuser cover.

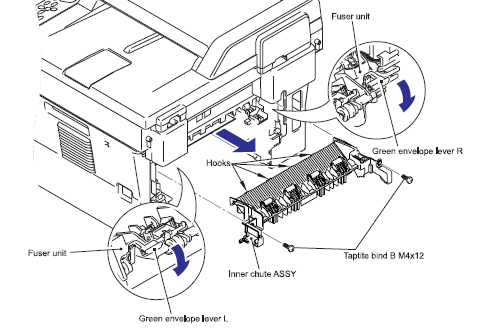
5. Pull down both sides green envelope levers, remove the two screws and remove the inner chute assembly
Note : This part can be hard to install. Be patient.
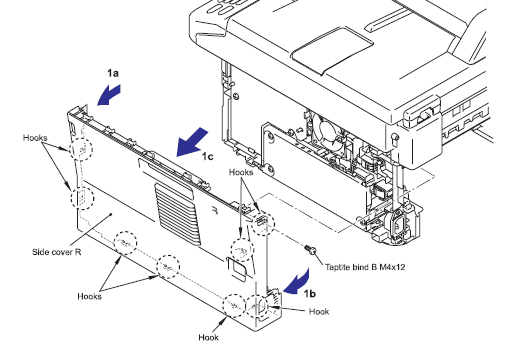
6. Remove the 1 screw in the rear of the machine then top and side hooks pull the top of the cover out and down to remove.
7. Release the harness of the fusing assembly from the guides of the main frame assembly
8. Disconnect the connector of the LVPS while pushing the hook of the connector to the fusing assembly

9. Disconnect the connectors of the center thermistor harness assembly and the side thermistor harness assembly from the paper eject sensor assembly
10. Remove the thermistors wire from the frame. Note how they are removed for installation.

11. Remove the two screws holding the fusing assembly in place and gently remove.


these instructions and pictures worked beautifully!! thank you!