Dell 3115cn Fuser Replacement Procedure with Illustrations
The fusing assembly is rated at about 100,000 prints. Typically, the easiest way to tell how much life you have remaining on these machines is by checking it through the driver or network interface. On most Dell machines, if they are on the network, when you go into the driver you will have a machine status button. If you press the button it will show you the life of your consumables. You can also get this information in the Diagnostics menu but I’m not going to explain it. Below you will find the Dell 3115cn Fuser Replacement Procedure along with buying and pricing options.
–
These fusers tend to hold up well. My main warning would be to check your life counters. I’ve seen these give low life messages when the fuser has 20% life left. When you figure the fuser is rated at 100,000 prints that means it is turning on at 80,000 prints leaving you with 20,000 prints left. For some people this can be another year or two so you don’t want to buy one way before you need to.
Dell 3115cn Fuser Replacement Instructions
Caution : The FUSER part is very hot. Take added care not to get burned when performing the service operation.
1. Open the FRONT COVER.
2. Open the DUPLEX GATE.
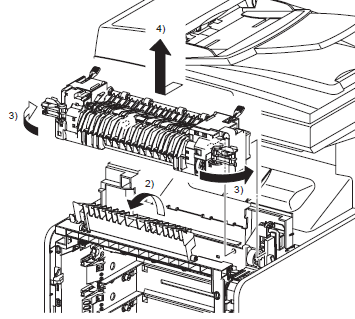
3. Release the lock by rotating the left and right levers of the FUSER to the outside direction.
4. Disengage the bosses and connector (P/J171) of the FUSER by moving the FUSER slightly toward you. Remove the FUSER upward.
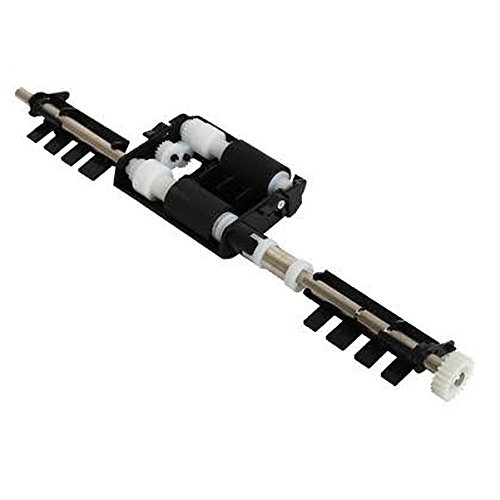
Dell 3110CN Fusing Assembly – FG627