Procedure for the Samsung SCX-4725F, 4725FN Fusing Assembly Removal
The fusing units in these machines don’t really have a rating as the machines life is only rated at 50,000 which I’m sure that would be the life of the fusing assembly. Open heat errors, low heat errors, and high heat errors are all related to fusing assembly problems. Some print quality issues can also be related to fuser related issues. If you find yourself wanting to take the fuser out to attempt to fix a problem or want to replace it then follow the Samsung SCX-4725F, 4725FN Fusing Assembly Removal procedure.

Rear Cover Removal Procedure
1. Remove the four screws securing the Rear Cover
and remove it.
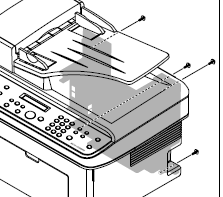
2. Open the Jam Cover.
3. To remove the Rear cover make sure the right
Power Switch doesn’t get jammed to the Rear
Cover, as shown below.
Samsung SCX-4725F, 4725FN Fusing Assembly Removal Procedure
1. Before you remove the Fuser, you should remove:
– Scan Ass’y
– Middle Cover
I haven’t had the experience to remove one of these fusers yet. I left out the scanner and middle cover removal procedure as often times Samsung gets a little carried away and ask you to take covers off that I not needed.
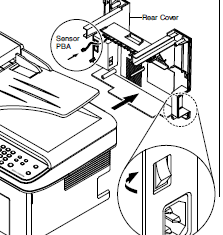
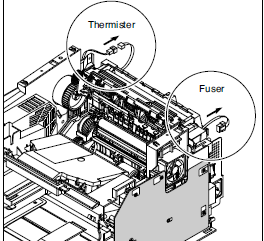
2. Unplug the AC power and thermistor Connectors from the SMPS and Main PBA, as shown below.
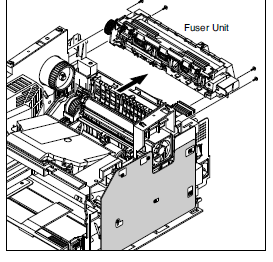
3. Remove the four screws securing the Fuser and
remove it, as shown below.
Click on the links below for buying options and additional details
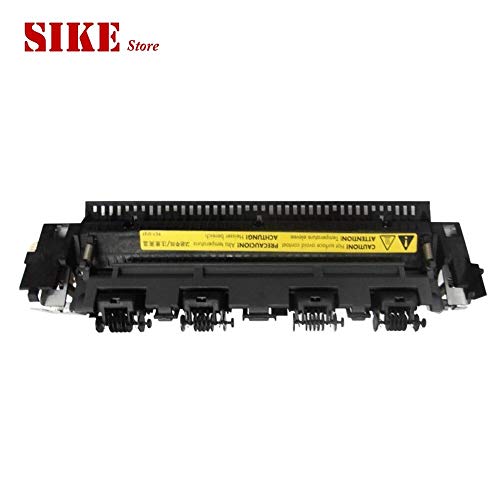
Samsung JC96-04229C -Fusing Assembly SCX-4725FN

Samsung JC96-04229C ELA HOUSING -FUSER; SCX-47 25FN/FSG, XEROX, -, 110
Features
- Works with the following models: Samsung SCX-4725FN
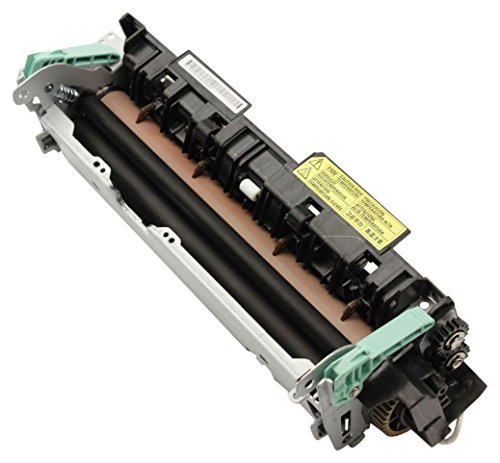
Samsung SCX-4725F, 4725FN Fusing Assembly JC96-04229C