Dell Printer 3110CN Fuser Removal Procedure and Repair tips
At around 100,000 prints you will get a replace fuser message soon on your Dell 3110CN control panel. The good news is that the machine comes up with this warning with plenty of time to get a new fusing unit on order to have on hand when it finally does need replaced. On Most Dell printers when the fusing assembly reaches the end of its life it will no longer print so it’s very important to make sure you have one ready when the one in the machine goes out to prevent unwanted downtime. Below is the instructions to replace the fusing assembly along with links to purchase your replacement fuser.
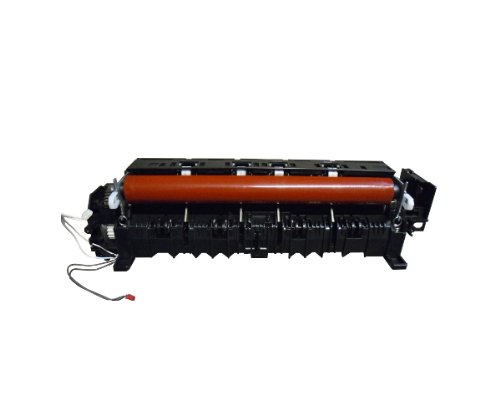
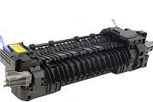
Dell 3110CN Fusing Assembly – FG627
–
–
–
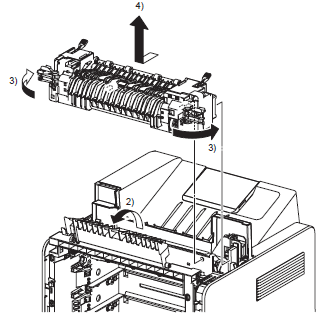
Dell 3110CN Fuser Removal Procedure
1. Open the Front Cover
2. Open the Duplex Gate
3. Release the lock by rotating the left and right levers of the Fusing assembly to the outside direction.
4. Disengage the bosses and connector of the fusing assembly by moving the fusing unit slightly toward you.
5. Remove the Fusing Assembly upward.
–
–
–
–
–
–
Checking the Life of the fusing Assembly –
These machines have a integrated web interface inside the machine. In the print driver under one of the options is a tab for printer status which will take you to the web interface. The other way is just to open an Internet Browser and type in the IP address like you would a web address. This will show you the life of all your consumable parts like your fusing unit, Transfer Belt, and toner cartridges. After you have replaced the belt or fusing assembly it wouldn’t hurt to go in this section to make sure everything reset properly.
Click on the link below for additional buying options and part details.
Dell 3110CN Fusing Assembly – FG627