Fuser Replacement Instructions on the Dell 1600n MFP
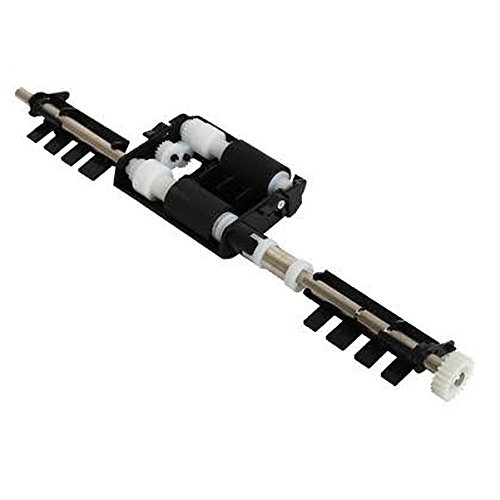
The fusing assembly, Dell 1600n, 1600MFP Fuser Assembly Unit (OEM), N5796 80,000 prints. At this time, you may start experiencing paper jams, abnormal noises, and a decline in print quality. Due to the low expected output of these machines they don’t have a fuser replacement message like you would find on some of the higher usage rated printers. It becomes up to you to inspect the fuser to determine if replacement is needed. In this article, I will provide the removal and replacement instructions so you can remove the fusing assembly to diagnose problems when you expect the unit to be the cause.

Troubleshooting the Fusing Assembly on the Dell 1600n MFP
1. Check the hot roller for discoloration and scratches on the surface. On these machines the pick fingers that ride against the hot roller tend to dig into the surface wearing away the outer coating. This can leave vertical lines and smudges on the paper.
2. Warped or wrinkled pressure roller. When the pressure roller gets wrinkles in it, it can lead to noise and intermittent jams in the fuser and the paper has problems feeding through the unit.
3. Gear noise. Because these machines don’t have a fuser replacement message the tend to be installed in the machine longer than recommended. I hear a lot of noise in the back of these printers. Often times I remove the fuser and see lots of gear dust because the fusing unit gears are falling apart.
If you see any of the above situations it’s probably best to advice the customer its time to replace the fusing assembly to prevent unwanted down time.
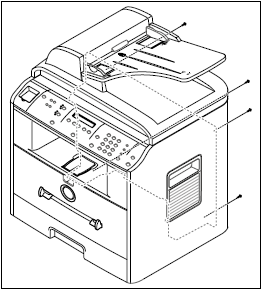
Rear Cover
1. Remove the four screws securing the Rear Cover.
2. Remove the Rear Cover from the Frame Assembly and Scanner Assembly.
3. Unlatch the (Cover Face Up) securing the Rear cover, as shown below.Then lift the (Cover Face Up) out.
 –
–
–
–
–
Dell 1600n, 1600MFP Fuser Assembly Unit (OEM), N5796 Removal
1. Unplug the two connectors from the Main PBA and SMPS, as shown below. Then remove the 4 screws securing the Fuser Assembly and remove it.
 –
–
–
–
–
–
Click on the link below for more information, details, and pricing options.
Dell 1600n, 1600MFP Fuser Assembly Unit (OEM), N5796