Replacement Instructions for the HP Laserjet P3015 Printer Laser Scanner Assembly, RM1-6322-000CN
Below is the instructions for the HP LaserJet Enterprise P3015 Series Laser/Scanner Assembly, LJ P3015/M525mfp RM1-6322-000, removal procedure for your printer. Hopefully with the pictures and instructions you will find this procedure easy to understand. If not good luck.
DIMM cover and DIMM
1. Slide the DIMM cover toward the back of the product to release it.
2. Release two tabs and rotate the top of the DIMM away from the formatter. Lift up on the DIMM to remove it.


Formatter cover and formatter PCA
1. Remove one screw and then slide the formatter cover toward the back of the product to release it. Green
2. Lift the cover away from the product. Red Arrow
Rear-door assembly
1. Open the rear door.
2. Gently pull down on the door and lower the door until it is fully open.
3. Push up on the link arm to release it.
4. Remove two screws. Green
5. Open the lower-rear door, and then release one tab. Yellow Square
6. Release one tab. Yellow Square
7. Rotate the bottom of the rear-door assembly away from the product.
8. Pull down on the rear-door assembly to remove it.


Left cover
1. Remove the rear-door assembly. See Rear-door assembly on page 62.
2. Remove one screw. Green
3. Release three tabs. Yellow
TIP: The tab inside the cassette cavity is located below the plastic cassette rail. It might be easier if slightly lift up the left side of the product, and use a small flat blade screwdriver to release this tab.
4. Release one tab. Below
5. Rotate the rear of the cover slightly away from the product, and then slide the cover toward the front of the product to remove it. Yellow Arrow


Top-right cover
1. Remove two screws. Green
2. Lift the cover off of the product to remove it.
Control Panel
1. Press the cartridge-door release button, and then open the cartridge door. Make sure that the door is completely open.
2. Disconnect one connector, and then remove one screw. Yellow, Green
3. Slide the control panel toward the front of the product to release it. Red
4. Lift the control panel off of the product.


Top cover
1. Remove three screws. Green
2. Slightly raise the rear of the cover, slide the cover toward the front of the product, and then remove it.

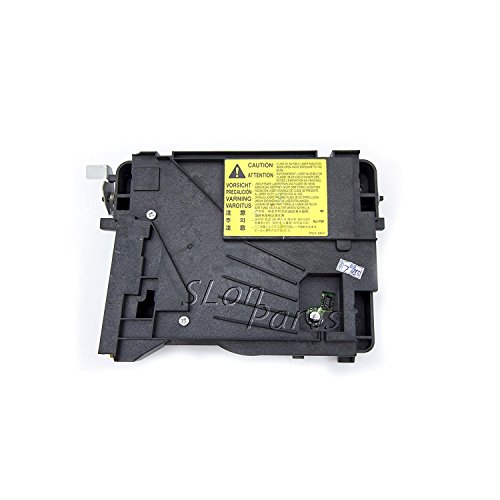
HP LaserJet Enterprise P3015 Series Laser/Scanner Assembly, LJ P3015/M525mfp RM1-6322-000 Removal
2. Release one tab on the air duct, and then lift the air duct out of the product.
3. Remove the antistatic sponge. Yellow
4. Disconnect one connector and one FFC. Green
Reinstallation tip Make sure that you correctly reconnect the FFC when the laser/scanner is installed. If the FFC is not correctly reconnected, a 51.1 ERROR will appear on the control-panel display.
5. Remove four screws. Red
6. Lift the laser/scanner up and out of the product.
HP LaserJet Enterprise P3015 Series Laser/Scanner Assembly, LJ P3015/M525mfp RM1-6322-000
[contentblock id=1]