Fuser Removal Procedure – HP laserjet P4014, P4015, P4510 Printers
Fuser Removal Procedure for the HP laserjet P4014, P4015, and P4510 printers
Wait 5 to 10 minutes Before Removing the Fuser to allow it to cool down and make sure you unplug the machine.
Rear output bin
1. Open the rear output bin.
2. Squeeze the hinge pin out of its mounting hole.
3. Rotate the output bin away from the product until the right hinge pin is released, and then remove
the output bin
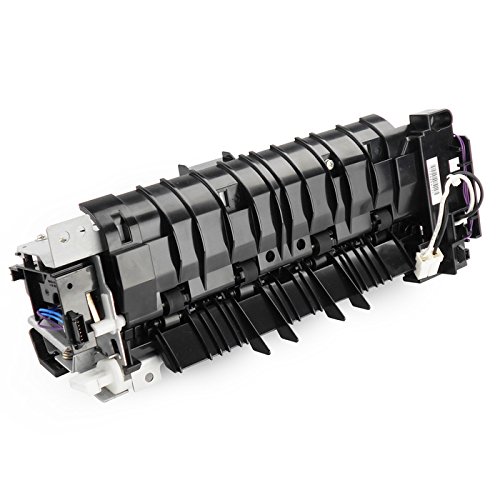
Fuser
1. Remove the rear output bin.
2. Squeeze the blue fuser-release tabs.
3. Pull the fuser straight back and out of the product.
CAUTION: Do not drop or jar the fuser. It can easily be damaged if it is mishandled.
TIP: When you replace the fuser, make sure that it is fully seated into the product. You should hear both sides snap into place.
[contentblock id=1]
For More information involving Printer Repair take a look at this site: http://www.fixyourownprinter.com/