Brother DCP 9045 and MFC 9840 Replace Fuser Message Procedure
At 80,000 copies and prints the Brother DCP 9045 and MFC 9840 fusing assembly hits the end of it’s expected life and the replace fuser message is displayed. Majority of the time, at this point the fuser is shot or soon will be so replacement is neccassary. While some people just look for the fuser message reset procedure I strongly recomend replacing it now. In this article I will talk about why it needs done and how to go about doing it.
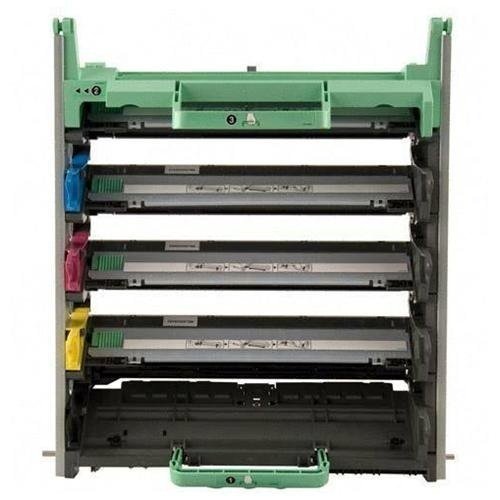
Some of the reset life counters are more important than other. I consider the replace fuser message one of the most important life counters.  Drums in these machines typically last 5 to 10 thousand more pages than recommended. On the drum life message, I say order one in but wait till your print quality starts to decline before replacing. On the laser scanner units I just say reset the counter and go on with life. It’s not really common for these to go out, especially at 100,000 prints. The PF kit 1 and 2 messages I usually recomend replacing. On the fusing units, I’ve replaced fusers before their time, at the correct time, ans some a little later. I’d say that 95% of the time either the fuser is showing early signs of wear or very noticeable. If you want to follow the instructions below and remove the fuser and check the upper hot roll and bottom pressure roller. The hot roller is light tan and the pressure roller is below and usually orange or black. Check the hot roller for wear marks around where the separation claws ride against it. If you see metal showing through it needs to be replaced. If the pressure roller is not smooth and is rippled it’s worn and could cause paper jam and print quality issues.

Removal Procedure

1. Open the Back Cover
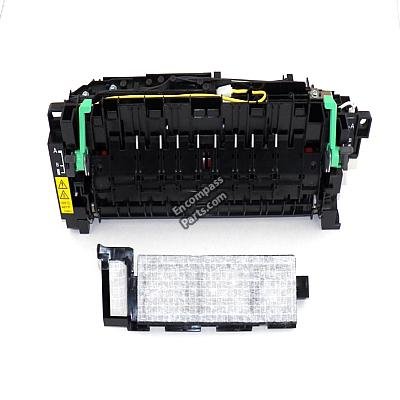
2. Remove the two screws, and then pull out the Fuser unit to the back of the machine.
3. Remove the toner filter assembly from the paper eject assembly
Assembly Procedure
1. Insert the new toner filter assembly back into the paper eject assembly
2. Put the Fuser unit into the machine and fix it with the two screws.
Note: When assembling the fuser unit, make sure theat the two harnesses are place in the groove and under the rib of the plastice frame.
3. Close the Back Cover
4. After replacing the Fuser unit, reset the counter.
How to Reset the replace fuser message
Alright here is the section on resetting the replace fuser message on these machine. With the machine at a ready state just press the 3 and 9 button together at the same time. This will bring up the Reset Menu if done right. Scroll down to Fuser. Press OK. You will then be prompted 1. Reset 2. Exit. Press 1 for reset if you are ready to reset it. Also, if for some reason you have to replace the fuser or any part listed in the reset menu you should always reset the counter even if it hasn’t hit its life cycle yet. Otherwise, someone could be replacing the part you put in a few months ago because the end of life message comes up.
Find well displayed printer parts diagrams at: http://www.printerworks.com/
Find printer service newsletters, parts, and more at: http://www.partsnow.com/