37,008.44 Error on the Xerox Phaser 8400, 8500, 8550, 8560
37,008.44 Error Related to Preheater or Fuse
A few days ago I ran into a 37,008.44 error on a Xerox Phaser 8400. 8500, 8550, and 8560. I didn’t have a service manual with me so I Googled it real quick and found out it was a preheater error. While the information on the internet pointed me in the right direction the fixes described didn’t resolve my issue. So I thought I would write an article about the 37,008.44 error and tell you what fixed the error on the Xerox Phaser 8560 I was working on.
The 37,008.44 Error on the Xerox Phaser 8560 I Serviced
Alright, So I recieved a call on a Xerox Phaser 8560 that was displaying a 37,008.44 error. I didn’t have a service manual with me so I quickly Googled the error on the internet to see that most people were describing it as being a preheater error inside the machine and replacement of the preheater or electronics module would be needed. I had a used preheater in the back of my service department so I grabbed it and took off on site. I quickly replaced the preheater and got the same result. So I put it into service mode and ran the preheater function test. Unfortunately, it just kept running and never gave me any answers.
What the service manual doesn’t tell you and what the internet didn’t say is that there are several fuses located in the electronics module. One of which monitors the voltage going into the preheater. I took the electronics module out and found that the fuse was blown. Replaced the fuse and I was back in business.
[contentblock id=2]
So below I gave the instructions on the preheater removal and the electronics removal. If you want to check the fuse on the electronics module note where the preheater cable runs into the module. Once you get the electronics module out you have to remove 8 to 10 torx-10 screws to remove one of the side covers and slide the boards out. The fuse for the preheater is located right above and slightly to the side of where the preheater connectors plugs in. Use a volt meter to check for continuity. If you have continuity then replacing the preheater is the next step. If you have no continuity like in my case then replacing the fuse is the next step. You should be able to find one at your local hardware or Radio Shack store.
Entering Service Diagnostics by a Reboot (8500/8550/8560):
1. Turn the printer power On.
2. Wait for the Xerox logo to begin moving across the display.
3. Before the logo is centered on the display (stops moving), press and hold
the Back and Help buttons on the Control Panel.
4. Hold both buttons until the display reads Beginning Service Mode Initialization. Release the buttons and the printer reboots into service mode with the Service Diagnostics menu displayed.
Preheater Removal
Inner Simplex Guide
1. Open the Front Door to access the guide.
2. Using a small flatblade screwdriver, pry inward on one retainer to remove it from the mounting post then remove the other retainer.
3. Slide the guide down and forward to remove.
Replacement Note: The fingers on the Inner Simplex Guide, go over the segmented roller. First snap the left retainer into place, then the right.
Lower Inner Duplex Guide
1. Open the Front Door.
2. Pull out on the tabs at the bottom of the guide and let the guide swing free.
3. Pry inward (toward the center of the printer) on the right upper retainer until it is free of the mounting boss and remove the guide.
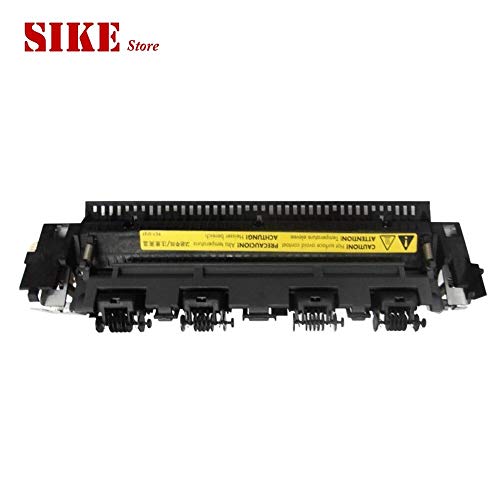
Preheater
1. Open the Front Door.
2. Remove the Lower Inner Duplex Guide.
3. Remove the Inner Simplex Guide.
4. Unplug the AC and sensor flag connectors from the bottom of the Preheater.
Note: Release the lock on the back of the AC connector.
5. Slide the latches in and forward to latch in their slots.
Note: Preheaters in 8500/8550/8560 models are more difficult to slide out than the 8400 versions because of reduced clearance with the Preheater Lift Solenoid.
6. Slide the Preheater off the shelves and out of the printer.
Replacement Note: The fingers on the Inner Simplex Guide, go over the segmented roller. First snap the left retainer into place, then the right.
Electronics Module Removal
Control Panel Cover
1. Open the Exit Cover.
2. Using either your fingers or a small flathead screwdriver, loosen the Control Panel Cover on the left side, and then slide it forward while lifting up to remove it from the printer.
Control Panel
1. Remove the Control Panel Cover.
2. Disconnect the two wiring harness connectors and one ribbon cable connector from the back of the Control Panel.
3. Remove the Control Panel.
Right Side Cover
1. Open the Exit Cover.
2. Remove the Control Panel Cover.
3. Open the Front Door.
4. Remove the rear screw.
5. Pull forward on the latching tab located by the power plug to release it.
6. Release the front latching tab and pull out on the top to remove the Right Side Cover.
Left Side Cover
1. Remove the Control Panel Cover.
2. Open the Exit Cover and Front Door.
3. Remove the rear screw.
4. Release the latching tabs and remove the Left Side Cover.
Ink Loader
1. Lift the Ink Loader clear of the chassis and hold it in position against the rear of the chassis to allow access to the connectors. For 8400, the Ink Loader disconnects from the printer frame. For 8500/8550/8560, the
harness that plugs into the right side frame disconnects directly from the Ink Loader.
Note: Hooks on the bottom of the Ink Loader allow it to hang on the rear of the printer chassis while the connectors are removed.
5. Disconnect the 2 connectors from the printer and remove the Ink Loader.
Replacement Note
For the 8400, route the gray harness from the chassis between the Ink Loader and printer side. The harness from the Ink Loader must be routed towards the left side (see inset). For the 8500/8550/8560, the harness comes from the side of the chassis and plugs directly into the Ink Loader. After replacing the 8500/8550/8560 Ink Loader, reset the ink stick count, using the Hidden Service Menu.
Electronics Module
1. Disconnect all connections to the Electronics Module. Several on both left and right sides and 2 on top.
2. Remove 5 screws from the back of the Electronics Module and two screws from inside the chassis.
3. Remove the Electronics Module.
Conclusion about the 37,008.44 error
From what I read majority of the time replacing the preheater assembly usually fixes the 37,008.44 Error. But it’s worth the time to check the fuse in the electronics module before replacing parts. Xerox continues to keep raising the price on there parts. I’m guessing it’s in an effort to keep a low stock on parts and force customers to replace the machines. I’ve had Xerox techs admit to me on the phone that the ink and the toner is where the money is and they make little if any money selling new machines. The Preheater runs around $100 to 150 and the electronics module gets really up there so do yourself a favor and test these companents before you start replacing.
[contentblock id=1]
Find well displayed printer parts diagrams at: http://www.printerworks.com/


Thanks for the note, the fuse fixed my preheater issue on 8560DN.