50.2 Fuser Error Warm Up Issue
So far the HP Laserjet P3015 printers has been a nice relief from the constant problems the P3005 series printers had. I’ve seen several P3o15 machines have over 150,000 prints on them and the fuser is still going strong. But like any other machine fuser errors will happen. In this article I’d like to go over the 50.2 fuser error on these machines. I’ll talk about why they can happen and several things you can try before replacing the fusing assembly. Obviously fusers aren’t the cheapest things in the world so it’s best to try a few things before just throwing in a part you might not need.

Troubleshooting Tips for the 50.2 Fuser Error

The 50.2 fuser error on the HP laserjet P3015 printer is a fuser warm up error. Several things can cause this error. First thing to try is just to turn the machine off and back on. Sometimes sudden power loss like a brown out or lights flickering can cause this problem. Next thing is to verify that it’s plugged straight into the wall and not a power strip or battery back up. Again, other devices can cause power related issues with these printers and 50.2 fuser errors. Third thing to try is to turn the machine off and unplug the printer from the wall outlet for 30 minutes. This allows the fusing unit to cool down and the capacitors inside the machine to loose their charge. This allows the machine to restart from a cold state when it powers back up. Any error codes stuck in memory should clear and the machine goes through a more thorough warm up state. If the error continues then you can try the steps below in the service manual. However, majority of the time replacing the fuser at this point is the recommended next step.
[contentblock id=2]
What the Service Manual has to say about the 50.2 Fuser Error
1. Power cycle the product to determine if the error is persistent.
2. Verify that the correct fuser model is installed in the product.
3. Verify that the correct voltage fuser is installed in the product.
4. 50.2 errors: Make sure that the connectors J8002 and J1505 are fully seated on the ECU, and connector J18
is fully seated on the fuser.
5. 50.1, 50.3, 50.8, and 50.9 errors: Make sure that the connectors J18 and J1608 are fully seated on the ECU.
6. 50.8 errors: Remove the fuser and make sure that there is no residual media or toner has built up on the fuser.
7. 50.4 errors: Make sure that the power to the product meets the specifications for the product.
NOTE: If the power supplied to the product is outside the specifications, the fuser temperature control circuit will not properly work, causing a fuser malfunction. Make sure that the connector J1002 and J1505 are fully seated on the ECU. If the error persists, replace the ECU.
8. If the error persists, replace the fuser.
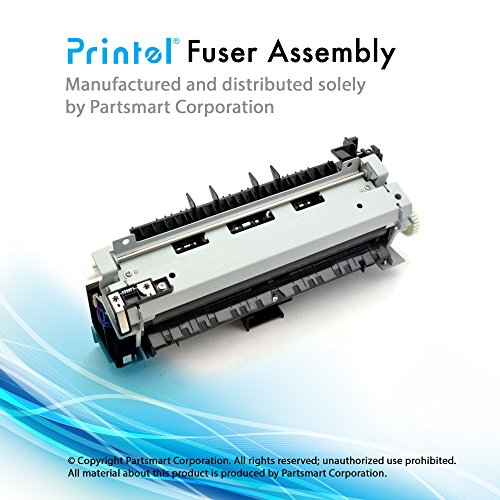
Fuser Replacement in the HP Laserjet P3015 Printer
Rear-door assembly
Unplug Machine and let sit for 10 minutes to cool.
1. Open the rear door.
2. Gently pull down on the door and lower the door until it is fully open.
3. Push up on the link arm to release it.
CAUTION: The link arm is under spring tension. Do not let the link arm snap back toward the
product when you release it.
4. Remove two screws.
5. Open the lower-rear door, and then release one tab.
6. Release one tab.
7. Rotate the bottom of the rear-door assembly away from the product.
8. Pull down on the rear-door assembly to remove it.
Right-rear cover
1. Slide the right-rear cover toward the inside of the product to release it.
2. Rotate the bottom of the cover away from the product, and then pull down on the cover to remove it.
Fuser
1. Duplex models only: Release two tabs on the duplex media-feed guide, and then slide the guide toward the back of the product to remove it.
Reinstallation tip Make sure that both tabs snap back into place when reinstalling the duplex media-feed guide.
2. Disconnect three connectors, and release one wire harness from the retainer.
3. Remove four screws.
4. Pull the fuser out of the back of the product.
CAUTION: To avoid damaging the fuser, the cartridge-door assembly must be closed before you
remove the fuser.
Conclusion about the 50.2 Fuser Error
Hopefully, this article has helped you troubleshoot and solve your 50.2 fuser error without replacement of the fusing assembly. Unfortunately, majority of the time you can’t fix this error until the fusing unit is replaced. If the fuser does need replaced check out the link below to purchase a new fuser.
[contentblock id=1]
 For More information involving Printer Repair take a look at this site: http://www.fixyourownprinter.com/


there is problem in power supply 3015