HP 4200 Laserjet 50.3 Fuser Error High Temp. Condition
HP Laserjet 4200 50.3 fuser error High Temp. Condition
The 50.3 fuser error on the HP 4200 laserjet printer is a service temp to high fuser error. Not a very common problem in these models. Majority of the time we see low fuser temps but this error does happen so I will explain what causes the 50.3 fuser error and the few things you can do to try and resolve this issue without replacement of the fusing assembly.
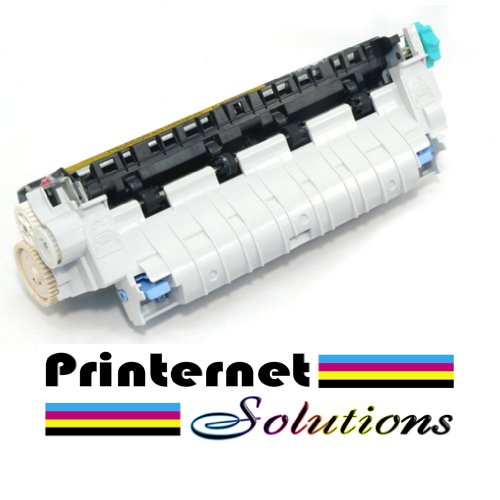
HP 4200 Fuser Assembly RM1-0013
Troubleshooting The HP Laserjet 4200 50.3 fuser error
Step one is to just shut down and unplug the printer for 10 to 20 minutes. This allows the temperature inside to cool down and the capacitors inside to discharge. Allowing the capacitors to discharge might help any service error stuck in the machine that might not be cleared by leaving it plugged in.
Step two is to check for proper ventilation around the machine. There are vents on the side to allow for internal heat to escape. If the vents get blocked by folders, books, or post it notes stuck on the side of the machine the hot air can’t escape and the result is possibly a 50.3 fuser error.
Step three is to check the fuser settings inside the machine. Sometimes to reduce print quality issues or for different media types you can adjust the fuser temperature to reduce print defect issues. Print off the menu map from the information menu and it will help guide you to the fuser mode section so you can check the fuser settings.
Conclusion About the HP Laserjet 4200 50.3 fuser error Message

If all else fails turn the machine off and unplug it. After the machine has sat 10 to 20 minutes take the fuser out and reseat it. If you still get the 50.3 fuser error on your HP laserjet 4200 printer after trying that then the next step is to replace the fuser. The next part of this article explains how to remove the fuser and just below that is a link you can click on if you feel that replacement of the fusing assembly is necassary.
HP 4200 Fuser Assembly RM1-0013 Removal
Note: Unplug power and communication cables and allow at least 10 minutes for cool down before fuser removal.
1. Open the rear output bin. Use your finger to squeeze the hinge pin (formatter side) out of its mounting hole.
2. Rotate the output bin away from the printer until the right hinge pin is released, and then remove the output bin.
3. Squeeze the blue fuser release tabs
4. Pull the fuser straight back and out of the printer.
HP 4200 Fuser Assembly RM1-0013
Find printer service newsletters, parts, and more at: http://www.printersupplies.com/