HP LaserJet Enterprise M606, M605, M604 Fuser Replacement
HP LaserJet Enterprise M606, M605, M604 Fuser Replacement
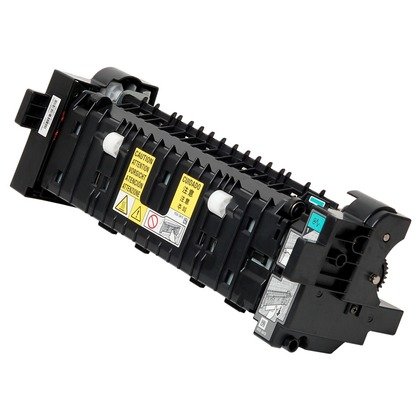
The fusers in these machines are rated at around 225,000 prints. Depending on the usage of the machine, environmental conditions, and type of toner used, lots of fusers tend to fail before their intended life cycle. Especially, if you are using rebuilt or third party fusers. Below you will find the illustrated HP LaserJet Enterprise M606, M605, M604 Fuser Replacement instructions along with links to purchase a replacement fuser if needed.
Errors that might need fuser replacement
50.1 fuser Error
50.2 Fuser Error
50.3 Fuser Error
50.4 Fuser Error
50.6 Fuser Error
50.7 Fuser Error
50.9 Fuser Error
Fuser 110V – LJ Ent 600 / M604 / M605 / M606 series

1. Pull the duplex accessory cover straight out of the printer to remove it.

2. Open the rear output bin, and then squeeze the hinge pin out of its mounting hole.

3. Rotate the output bin away from the printer until the right hinge pin is released, and then slide the output bin to the left to remove it.

4. Squeeze the blue fuser-release tabs.

7. Pull the fuser straight back and out of the printer.
6. Position the fuser on the printer, and then push it toward the printer to install it.
CAUTION: Do not drop or jar the fuser. It can easily be damaged if it is mishandled.
TIP: Make sure that the fuser is fully seated into the printer. You should hear both sides snap into place.
7. Install the right hinge pin, and then rotate the output bin toward the printer.

8. Install the duplex accessory cover
[wwcAmzAffProducts asin=”B0170ODNAW”][/wwcAmzAffProducts]