Repair Advice for the Lexmark T522, T520 Error Code 920 Low Temperature
It’s pretty much given that one point or another your going to have a fuser error on your machine. In this article, I’d like to talk about the repair advice for the Lexmark T522, T520 Error Code 920. This error typically happens when the temperature in the fusing unit falls below the needed set temp when printing.
![]()
–
–
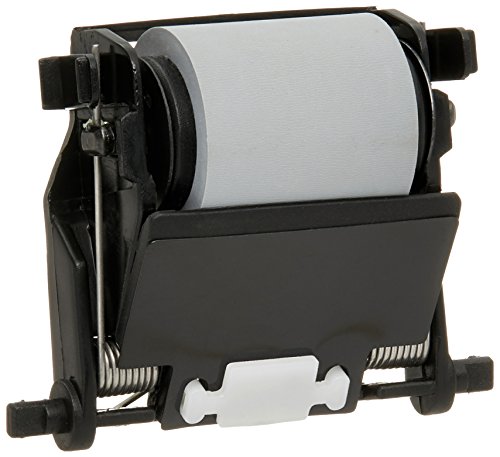
Lexmark Optra T 522 520 Fuser Kit 99A2423 Refurbished

Lexmark T522, T520 Error Code 920 Description
Indicates that the fuser is below temperature when printing.
Service manual repair advice and some of my own personal advice can be found below for the Lexmark T522, T520 Error Code 920. The voltage checks information comes straight from the manual.
1. Turn the machine off then back on. Like any other fuser error these errors can happen by accident. One or two fuser errors in a year is acceptable. 2 or 3 in a few month period and it needs further investigation.
2. Plug the machine straight into a wall outlet for testing purposes.
3. Open the rear door or remove the redrive assembly and tell the machine to print a test page. Visually look for the fuser lamp to turn on. If it does then check the thermistor and clean the surface. If the lamp does not turn on then check for continuity across the lamp, across the lamp contact points and the thermal fuse.
4. Replace the fusing assembly.
I would recommend some printer or electrical repair experience for the steps below. If you feel these steps are beyond your comfort zone then I would replace the fusing assembly. 95% of most fuser errors will be solved by replacing the fusing assembly. It is rare that fuser errors go beyond the fusing assembly.
5. LVPS to Fuser AC Cable
Caution: When taking measurements for AC power, observe all safety precautions.
a. Measure the AC line voltage between the two connectors on the fuser end of the LVPS to fuser AC cable. If the voltage is incorrect, turn the power off, and remove the LVPS.
b. Measure the AC line voltage between pins CN1-1 and CN1-3 on the board.
c. If correct, check the continuity of the LVPS to fuser AC cable. If incorrect, replace the cable.
d. If the AC line voltage at CN1 is incorrect, check fuse F2. If the fuse is blown, replace the fuse.
e. If the fuse is not blown, replace the LVPS assembly.
6. Disconnect the thermistor cable from the fuser board at J2. Resistance:
• HOT J2-1 – J2-2 = 2.5K ohms
• COLD 150K ohms to 260K ohms
7. Replace the fusing assembly.
Click on the link below for the fuser replacement instructions