Troubleshooting Info for the Lexmark MS510 and MS610 Error Code 121.20
The Lexmark MS510 and MS610 Error Code 121.20 Fuser Message is yet another low temperature reading in the machine. This error can happen while printing or just when it is setting there waiting to print. There is a lot of troubleshooting steps you can try to get the problem under control without changing the fusing assembly. If you feel you want to try a few things before breaking out money and replacing the fusing assembly or having a technician come onsite then check out the tips below. Following the article you will find a link to the fuser replacement instructions along with a link to order in a replacement fusing assembly if needed.
![]()
Lexmark MS510 and MS610 Error Code 121.20 Description
Fuser under temp during steady state control. Can ocurr in printing or standby modes.
Lexmark MS510 / MS610 Service Manual Troubleshooting Info for the Error Code 121.20
1 Restore the engine settings to their defaults:
Diagnostics Menu > Printer Setup > Defaults
2 Restore the EP setup settings to their defaults:
Diagnostics Menu > EP Setup > Defaults
3. Check the fuser cables JTHERM1 and JEXIT for proper connection to the controller board.
4. Check the cable PCN5 for proper connection to the power supply.
a. Turn off the printer.
b. Remove the rear door and cover.
c. Disconnect the fuser cable connected to PCN5 of the power supply.
d. Check for approximate correct resistance on the fuser cable:
• 220V fuser—43 ohms
• 110V fuser—10 ohms
• 100V fuser—8 ohms
5. Check the fuser rollers, belts and gears for damage and debris.
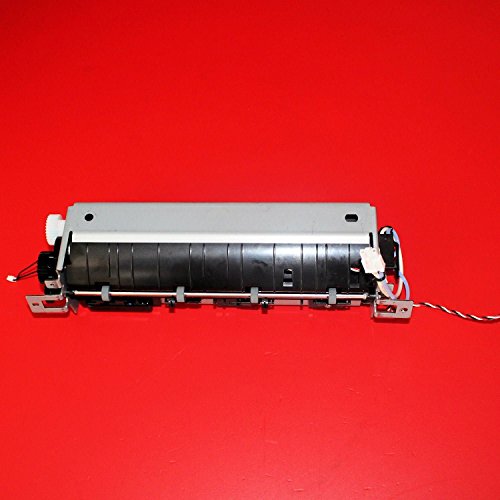
6. Replace the fuser.
7. Replace the LVPS.
Additional Troubleshooting Info
1. Turn the machine off then back on. This is one of those errors that can happen on occasion. Now if you turn it back on and it starts working again then I usually tell customers to keep an eye on it. If it happens once or twice a year than that is acceptable. If the error happens more than 1 or 2 in the 3 month or less period then its time for concern and further action.
2. Low power situations can cause this type of error. Several large devices drawing lots of power on the same circuit can cause this problem. No power strips or battery back ups. Plug straight into a wall outlet for testing. Make sure heating devices like other copiers or printers, space heaters, coffee makers, and other similar items aren’t plugged in near by or on the same surge arrest or power strip.
3. Verify the paper type settings on the machine match the paper being printed on. The machine adjust fuser temperature settings to match the paper being used. Printing on heavy cardstock with a plain paper setting might cause an error like this.
4. Remove the fusing assembly and check the thermistors for build up of debris on the surface that could lead to poor temperature readings.
5. Replace the fusing assembly.
Click on the Link Below for the fuser replacement instructions