Brother MFC – 9130, 9330, 9340 Fuser Replacement – LY6753001
Instructions for the Brother MFC – 9130, 9330, 9340 Fuser Replacement
This article is pretty much explains itself. Below you will find the Brother MFC – 9130, 9330, 9340 Fuser Replacement procedure. This process is pretty simple and can be handled by just about anybody. Just below you will find a link to purchase a replacement fuser if needed. At the bottom of the article you will find a link to the Fuser Life Reset instructions. Also, Brother recommends updating the firmware on the machine once this job is complete. It seems like an odd request because it is out of the ordinary for a replace of this nature. Therefore, I believe one of the firmware fixes has to do with something related to the fusing assembly.

Removal and Replacement Instructions
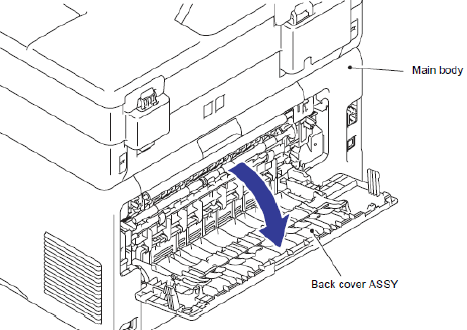
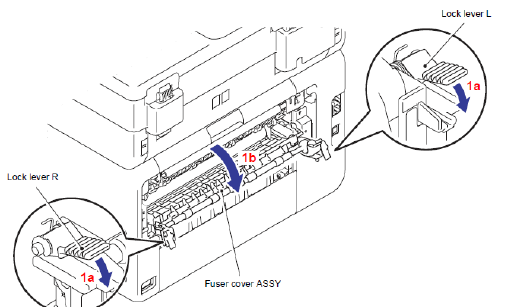
1. Open the Back cover
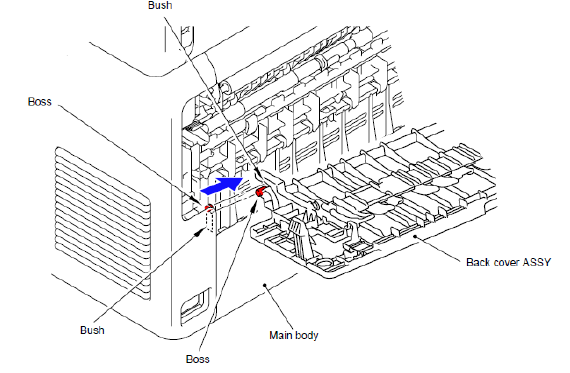
2. Remove the post of the Back cover assembly from the and Bushing on the left side of the Main body
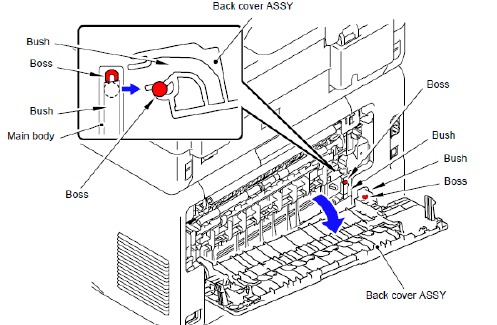
3. Remove the post of the Back cover assembly from the bushing on the right side of the Main body
4. Release the locks on either side of the fuser cover to open the Fuser cover assembly.
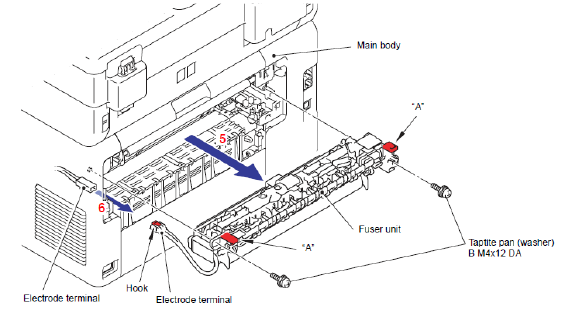
5. Remove the left side post of the Fuser cover assembly from the Bushing of the Main body.
6. Remove the right side post of the Fuser cover assembly from the Bushing of the Main body.

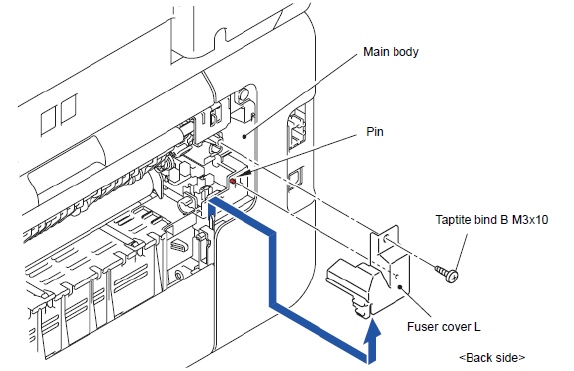
7. Remove the one screw from the left fuser cover.
8. Lift the left fuser cover up over the pin and out from the Main body
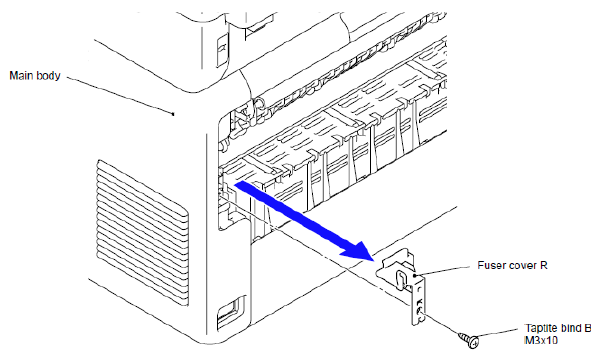
9. Remove the one screw to remove the right fuser cover from the Main body
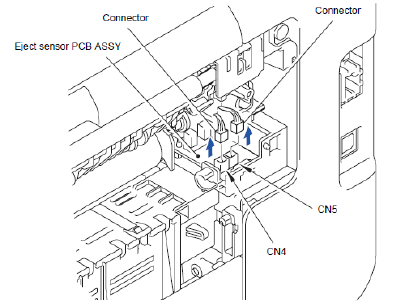
10. Disconnect the two DC connectors from the Eject sensor board assembly.
11. Remove the two screws on both side of the fusing assembly. Remove the Fuser unit from the Main body holding the “A” parts.
12. Disconnect the AC power connector of the Fuser unit from the main body AC power connector.
13. Follow the steps in reverse order to install new fuser unit.
14. After installing the new fuser unit. Verify the unit powers up to Ready.
15. Click on the link below for the Fuser Life Reset instructions
Note: After you have completed replacing the fusing assembly Brother recommends that you update the firmware on the machine. The firmware update tool can be found in the support section for your machine on Brother’s website. www.Brother.com

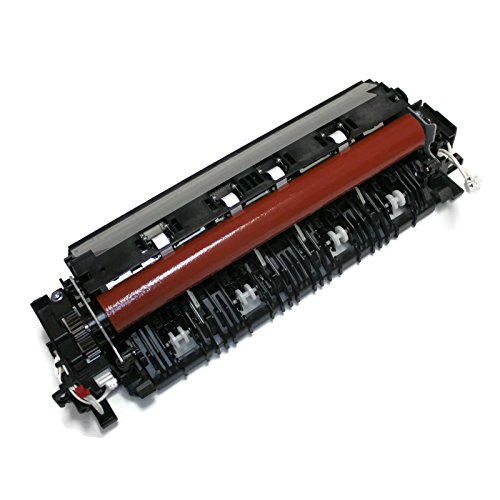
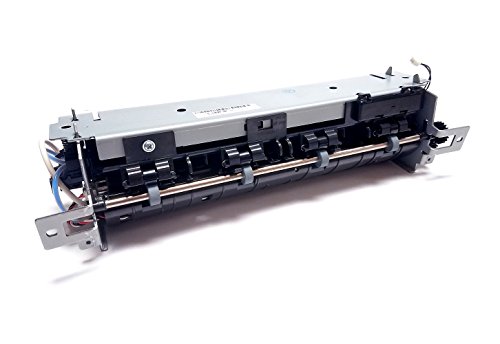
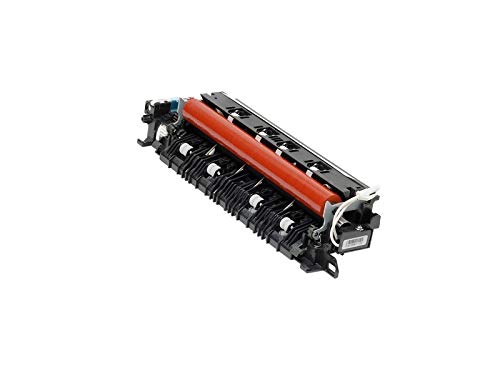
Brother LY6753001 OEM Fuser (Fixing) Unit
How to Change the Brother Printer MFC-9340CDW fuser
How to replace MFC-9340CDW Brother printer fuser in less than 5min.

thanks a lot of help