Repair Advice for the Xerox Phaser 3500 Fuser Assembly Removal Instructions
While not the biggest machine out there the Xerox Phaser 3500 is a step up from other lower end models that Xerox has produced. Rated at 35 pages per minute, a high capacity cartridge that can print up to 12,000 pages, and optional accessories like duplex, network, and an additional 500 sheet tray, these printers are good little machines to have in your office space. Rated at 150,000 prints the consumables on these machines tell you that this model is meant to handle some serious printing. Given the cost of the fuser I wouldn’t hesitate to tell my customers to go a head and repair this machine when a fuser is needed. The nice thing about this model is the fusing assembly is rather easy to replace compared to some other machines. Below, in this article, find instructions on the 3500 fuser assembly removal along with links to purchase a new fuser if you decide that is what is needed.
Fuser Related Errors
Fuser Failure
Engine Fuser Low Heat Error
Engine Overheat Error


Xerox Phaser 3500 Rear Cover
1. Open the Rear Cover.
2. Release the Restraining Strap (tie stopper).
3. To release the 2 posts securing the Rear Cover; Lift up on the left (printer left) hinge pin, then slide the Rear Cover to the left to free the right hinge pin and remove the Rear Cover from the printer.

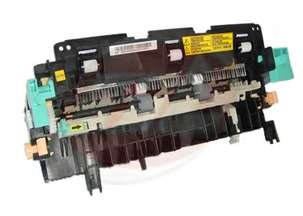
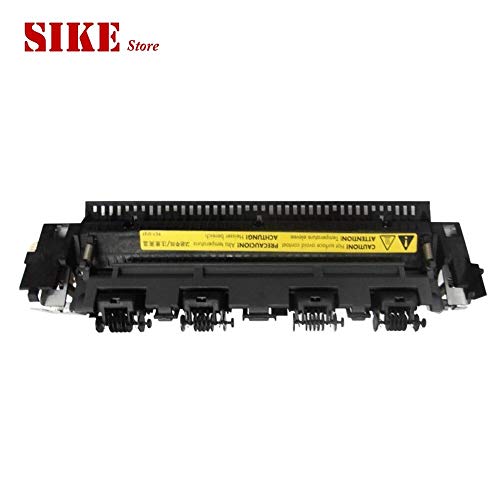
Xerox Phaser 3500 Fuser Assembly Removal
1. Pull the locking lever and take out the Fuser Assembly.

Click on the link below for additional details and buying options for the Phaser 3500 Fuser Assembly