Fuser Error Samsung SCX-6220, 6320F, 6322DN Fusing Assembly Replacement
Troubleshooting and Replacement Instructions for the Samsung SCX-6220, 6320F, 6322DN
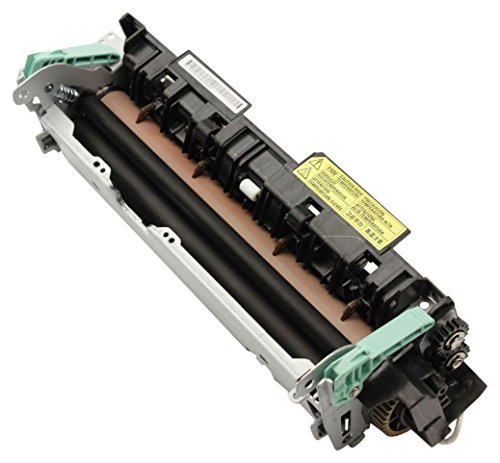
One of the unfortunate features of the Samsung line of machines is their rather generic error codes. When the printer displays a Fuser Error there is a problem in the fusing assembly,Samsung SCX-6220, 6320F, 6322DN Fusing Assembly, JC91-00965A
In this article I’d like to offer a few troubleshooting tips and give instructions on how to replace the fusing assembly if needed.

1. Check your power source. Make sure it is plugged straight into a wall outlet and not on a power strip, battery backup, or UPS. All these devices can lead to power issues and fuser errors. Also other heating devices on the same circuit can lead to this error. Make sure no coffee makers, space heaters, or laser printers and copiers are on the same circuit.
2. Remove the fusing assembly and check the thermostat. There should be continuity across the thermostat leads. If you don’t have any then the thermostat is open. If you have continuity then disconnect the thermostat and check the leads or electrodes going into the hot roller. If you don’t have continuity then you could have corrosion on the contacts. Remove the electrodes and use an emary board to remove the corrosion.
3. If everything above has failed then follow the instructions to test other parts of the machine. Most likely though it’s time to replace the fusing assembly to further test and diagnose the problem. 99% of the time when you receive a Fuser Error on any printer the fusing assembly is the culprit. Below is the instructions on removing and replacing the unit if needed.
4. The fuser is rated at 100,000 prints so if you have this many prints then it’s probably time to replace. Also if you have the fuser out, check for toner build up on the hot roller and pressure roller. Check for discoloration or scratches and marks on the hot roller Finally check for a warped or wrinkled surface on pressure roller. If you see any of these signs of wear then it’s time to replace the fusing assembly.
Service Manual Troubleshooting Tips
1. Measure the resistance at the both ends of AC Line with covers open
Is the measurement Less than 10W?
No – Thermostat is open due to the heat etc. Replace the thermostat
Yes – Remove Covers
2. Is AC being supplied?
No – Re-assemble the top cover and close it
The voltage of pin #6 of U5 on the Main PBA Should be about 3.2V. If not check the CN4 on the power board.
3. Yes – Then check the voltage of pin #60 of U36 (CPU) on the Main PBA is about 2.65V when printing.
Yes – Thermistor, connecting point or engine board defect -> Repair/replace the Fusing Assembly or Engine Board
Samsung SCX-6220, 6320F, 6322DN Fusing Assembly, JC91-00965A
Removal Procedure

 –
–
–
–
–
–
–
1. Before you remove the Fuser Assembly, turn the power off and let the printer sit 15 to 20 minutes to allow the fusing assembly to cool off.
2. Remove the one screw and take out the Cover Sheet Connector.
3. Unplug the one connector.
4. Open the Front Door and then remove the three screws and take out the Fuser Ass’y.
5. Remove the two screws and take out the Thermostat.

 –
–
–
–
–
–
–
–
Click on the link below for more details and buying options.

JC91-00965A-SMG-110V-FUSER-SCX6220-SCX6320F-SCX6322DN-FIXING-ASSEMBLY-USA-SELLER
Features
| Binding | Electronics |
| Brand | BORASELL |
| EAN | 0717261855460 |
| EAN List | EAN List Element: 0717261855460 |
| Label | BORASELL |
| Manufacturer | BORASELL |
| MPN | JC91-00965A |
| Package Quantity | 1 |
| Part Number | JC91-00965A |
| Product Group | CE |
| Product Type Name | PRINTER |
| Publisher | BORASELL |
| Studio | BORASELL |
| Title | JC91-00965A-SMG-110V-FUSER-SCX6220-SCX6320F-SCX6322DN-FIXING-ASSEMBLY-USA-SELLER |
| UPC | 717261855460 |
| UPC List | UPC List Element: 717261855460 |