Dell 2130 Printer, Replace Fuser Now Message Troubleshooting
The replace fuser now message obviously means the fusing assembly has reached its average life expecdency, 50,000 prints. I’ve worked on enough of these machines to know by now that this should be treated more than just a suggestion. These machines tend to get lots of build up on the fuser exit guides using lots of color and duplexing, leading to a lot of jamming issues in this area. So if I ever run into this message I just replace the fuser, reset the counter and go on with life. If you just reset the counter your asking for future problems that could have been prevented.

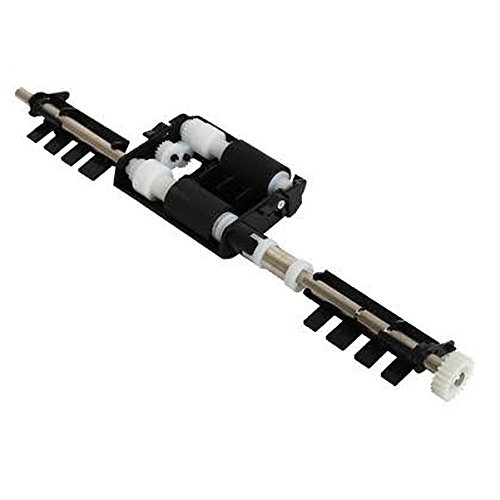
Dell 2130CN OEM Fuser Assembly, X722D, M266D, 330-1426, 330-3107, P241D Removal Procedure
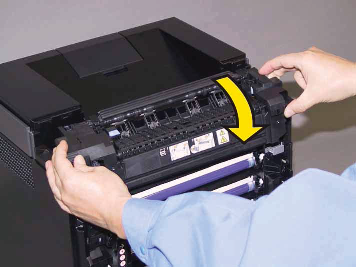
1) Open the COVER ASSY FRONT.
Note: The FUSER part is very hot. Take added care not to get burned when performing the service operation.
2) Open the TRANSFER ASSY
3) Pull the LEVER to release the lock.
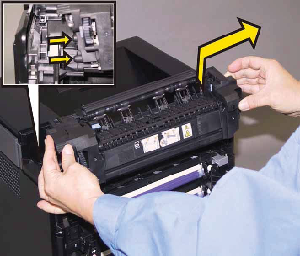
4) Disengage the connector of the FUSER ASSY by pulling the right side of the FUSER ASSY toward you with the LEVER released.
5) Lift up the FUSER ASSY, move the FUSER ASSY to the right side.
 –
–
–
–
–
–
–
–
Fuser Life Reset Procedure
1. Get into “Customer Mode†hold (“up arrow” key and”Down Arrow†while switching the machine on)
2. Press the “Down Arrow” key several times until “Parameter” is displayed. Press the ” Select ” key once.
3. Press the “Down Arrow” key several times until “Life Fuser Sheet” is displayed. Press the “Select” key once.
4. Press the “Down Arrow” key until “Initializing” is displayed. Press the ” ✔” key once.
5. Press the ” Select” key once, and Initializing the Life Counter of the Fuser is performed.
6. Machine should display “Initializedâ€.
For more details and pricing options click on the link below for more information.
Dell 2130CN OEM Fuser Assembly, X722D, M266D, 330-1426, 330-3107, P241D