Fuser End of Life Message on the Xerox Phaser 4600 / 4620 Printer
Diagnostic Aids for the Fuser End of Life Message on the Xerox Phaser 4600 / 4620 Printer
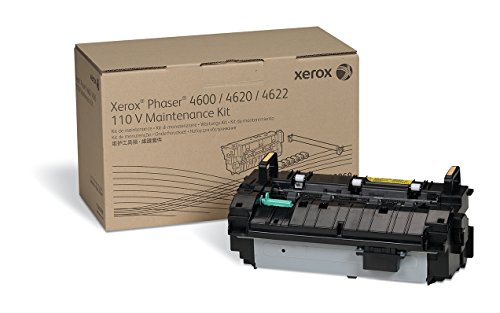
The Fuser End of Life Message is a pretty straight forward message. The fusing unit is at the end of its expected life. The standard yield for the fusing assembly is 150,000 prints. Typically at this point the fusing assembly is not completely worn out but showing some signs of wear. Below is a few troubleshooting tips an instructions on how to replace the fuser when needed. Xerox is smart in the ways users and know most will try to reset the counter and get on with life. on these fusers they have installed a fuse in the unit that gets triggered when the machine is first turned on after replacement to let the machine know that the fusing assembly has been replaced. So your best bet here is just to replace the fusing assembly and be done with it. The fuser is relatively cheap in cost compared to some other models so well worth the investment.
Xerox 115R00069 110V Fuser Maintenance Kit

Troubleshooting the Fuser End of Life Message
1. Check the Fuser life count in the NVRAM to verify the fuser is actually near or at the end of its life.
2. Cycle system power to verify the message is consistent.
3. Remove the Right Cover and reseat CN10 on the MCU Board.
4. Replace the Fuser
5. Replace the MCU Board.

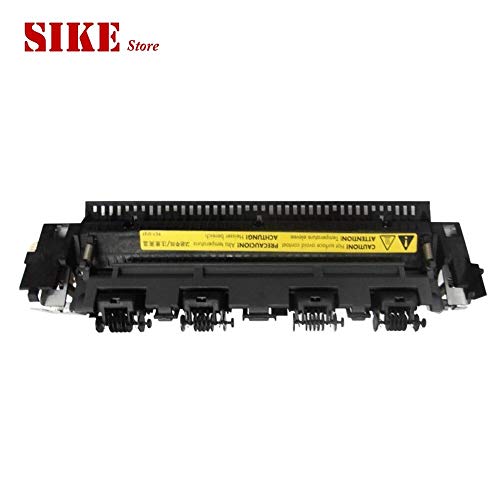
Xerox Phaser 4600 / 4620 Fuser, 115R00069 Removal Procedure
1. Remove the Rear Door.
2. Remove 4 thumbscrews that secure the Fuser in the chassis.
3. Hold the handles and slide the Fuser from the chassis.