Error code 51 – Change PF Kit MP – Brother 9040 and 9440
User Check
– Replace the MP paper feeding kit with a new one.
– After replacing the MP paper feeding kit, reset the counter using the control panel on the machine.
As far as replacing consumable parts this probably is the least common message you’ll see. The PF Kit MP is rated at 50,00 prints or copies. Given the fact its the by-pass tray it rarely sees this much usage. But it does happen so in this article is information pertaining to replacement and reset of the message. I showed a few of the pictures but obviously they are not all there. They say half the fun it getting there so I would hate to show you everything. It’s fun to figuire out a little on your own.
[contentblock id=2]
MP Paper Feeding Kit (PF kit MP)
1. Press the Front cover release button, and open the Front door unit ASSY.
2. Release the two Hooks to remove the MP feed frame cover from the Front door unit ASSY.
3. Remove the MP lift arm 2.
4. Lift up the Hook and release it in the direction of arrow 4a. Slide the Holder bush MP in the direction of arrow 4b, and then remove the Holder bush MP from the shaft of the MP roller
5. Slide the MP roller holder ASSY in the direction of arrow 5a and slightly pull it down in the direction of arrow 5b. Then, remove it.
6. Remove the Separation pad ASSY MP from the Front door unit ASSY.
7. Remove the Separation pad spring MP.
Note: Be careful not to loose the Separation pad spring MP.
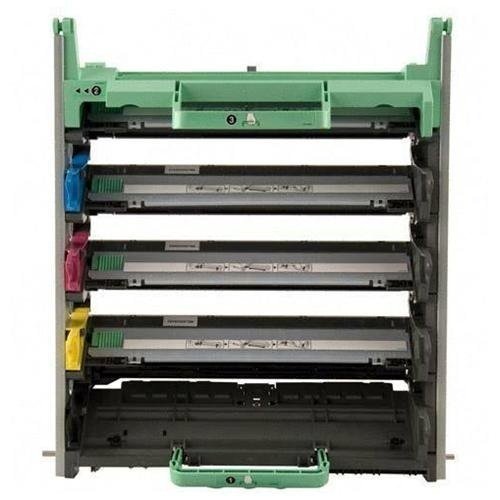
Brother 9440, 9040 MP PAPER FEED KIT – LR1920001

Seperation Pad Procedure
1. Assemble the Separation pad Spring MP.
2. Put the positioning section of the Separation pad ASSY MP into the Separation pad spring. MP and catch the two Hooks to fix the Separation pad ASSY MP.
Note:.Check that the Separation pad ASSY MP moves smoothly by pushing it up and down.
3. Put the Holder shaft into the hole while holding the Separation pad ASSY MP. Slide the MP roller holder ASSY to the direction of the arrow 3b to re-assemble it.
4. Put into the Holder bush MP to the direction of the arrow 4a and turn it to the direction of the arrow 4b so that the Hook catches.
5. Assemble the MP lift arm 2 with aligning it with the three Bosses provided on the Front door unit ASSY.
Note: When assembling the MP lift arm 2, make sure that the shaft of the MP roller holder ASSY is put into the hole on the MP lift arm 2.
6. Assemble the MP feed frame cover onto the Front door unit ASSY.
7. Close the Front door unit ASSY.
8. After replacing the MP paper feeding kit, reset the counter.
Reset Parts Life Counter For the PF KIT MP Message
When the machine is at a ready state press the 3 and 9 buttons at the same time. The machine should then read Reset Menu. Scroll through the menu till you see PF KIT MP on the display then press OK. The display will then read 1. Reset and 2. Exit. Press what you want the machine to do then the machine should go to a ready state and the PF Kit MP message should be gone if you pressed 1 for reset.
[contentblock id=1]
Additional Printer Repair Articles can be found at : http://www.metrofuser.com/
Find well displayed printer parts diagrams at: http://www.printerworks.com/